

Tackling a home improvement project yourself is a great way to take pride in your property, but deciding whether DIY or professional flooring installation is right for you depends heavily on the specific material you choose. You might be staring at a stack of boxes right now, wondering if you can handle the job over a couple of free weekends. Some modern floors are engineered specifically for handy homeowners, but other materials demand a level of precision and physical stamina that can quickly overwhelm a weekend project. A mistake early in the process does not just ruin your schedule. It can ruin your expensive material.
Investing in new floors is a major financial decision. The physical materials respond directly to humidity, subfloor conditions, and the structural movement of your house. To get the best return on your investment, you need a clear, realistic look at what each project actually entails before you rip out your old floors.
Debris Disposal and Site Safety
Before the new planks or rolls can go down, the old flooring has to come up. Demolition is filthy, heavy work. Ripping out old carpet, scraping up stubborn vinyl adhesive, or chipping away hardened tile mortar creates an incredible amount of airborne dust and debris. If your house was built before the late 1980s, you also need to test old vinyl tiles and adhesives for asbestos before disturbing them.
Then comes the logistics of disposal. Standard household trash cans cannot handle hundreds of pounds of sharp ceramic shards or bulky rolls of heavy carpet padding. You will need to budget for dumpster rentals or trips to the local landfill. Professional crews handle all of this demolition, safety monitoring, and heavy hauling automatically, which keeps your garage and driveway clear of debris.
Breaking Down the Difficulty by Material Type
Not all floors are created equal. The skills, specialized tools, and time commitment change drastically depending on whether you are working with fabric, stone, wood, or interlocking planks.
Carpet
Installing carpet looks straightforward, but it is incredibly physically demanding and requires highly specialized tools you likely do not own. You cannot get a tight, professional fit without a carpet stretcher and a knee kicker to pull the backing taut against the tack strips. If you do not stretch it correctly, the carpet will develop loose, ugly wrinkles within a year. Seaming two separate pieces together is another major hurdle. It requires a specialized seaming iron and a steady hand to melt the adhesive tape without burning the fibers. If you mess up the seam, it will look like a glaring scar right through the middle of your room. Because of the specialized equipment and physical strain, carpet is rarely a good candidate for a DIY project.
Ceramic and Porcelain Tile
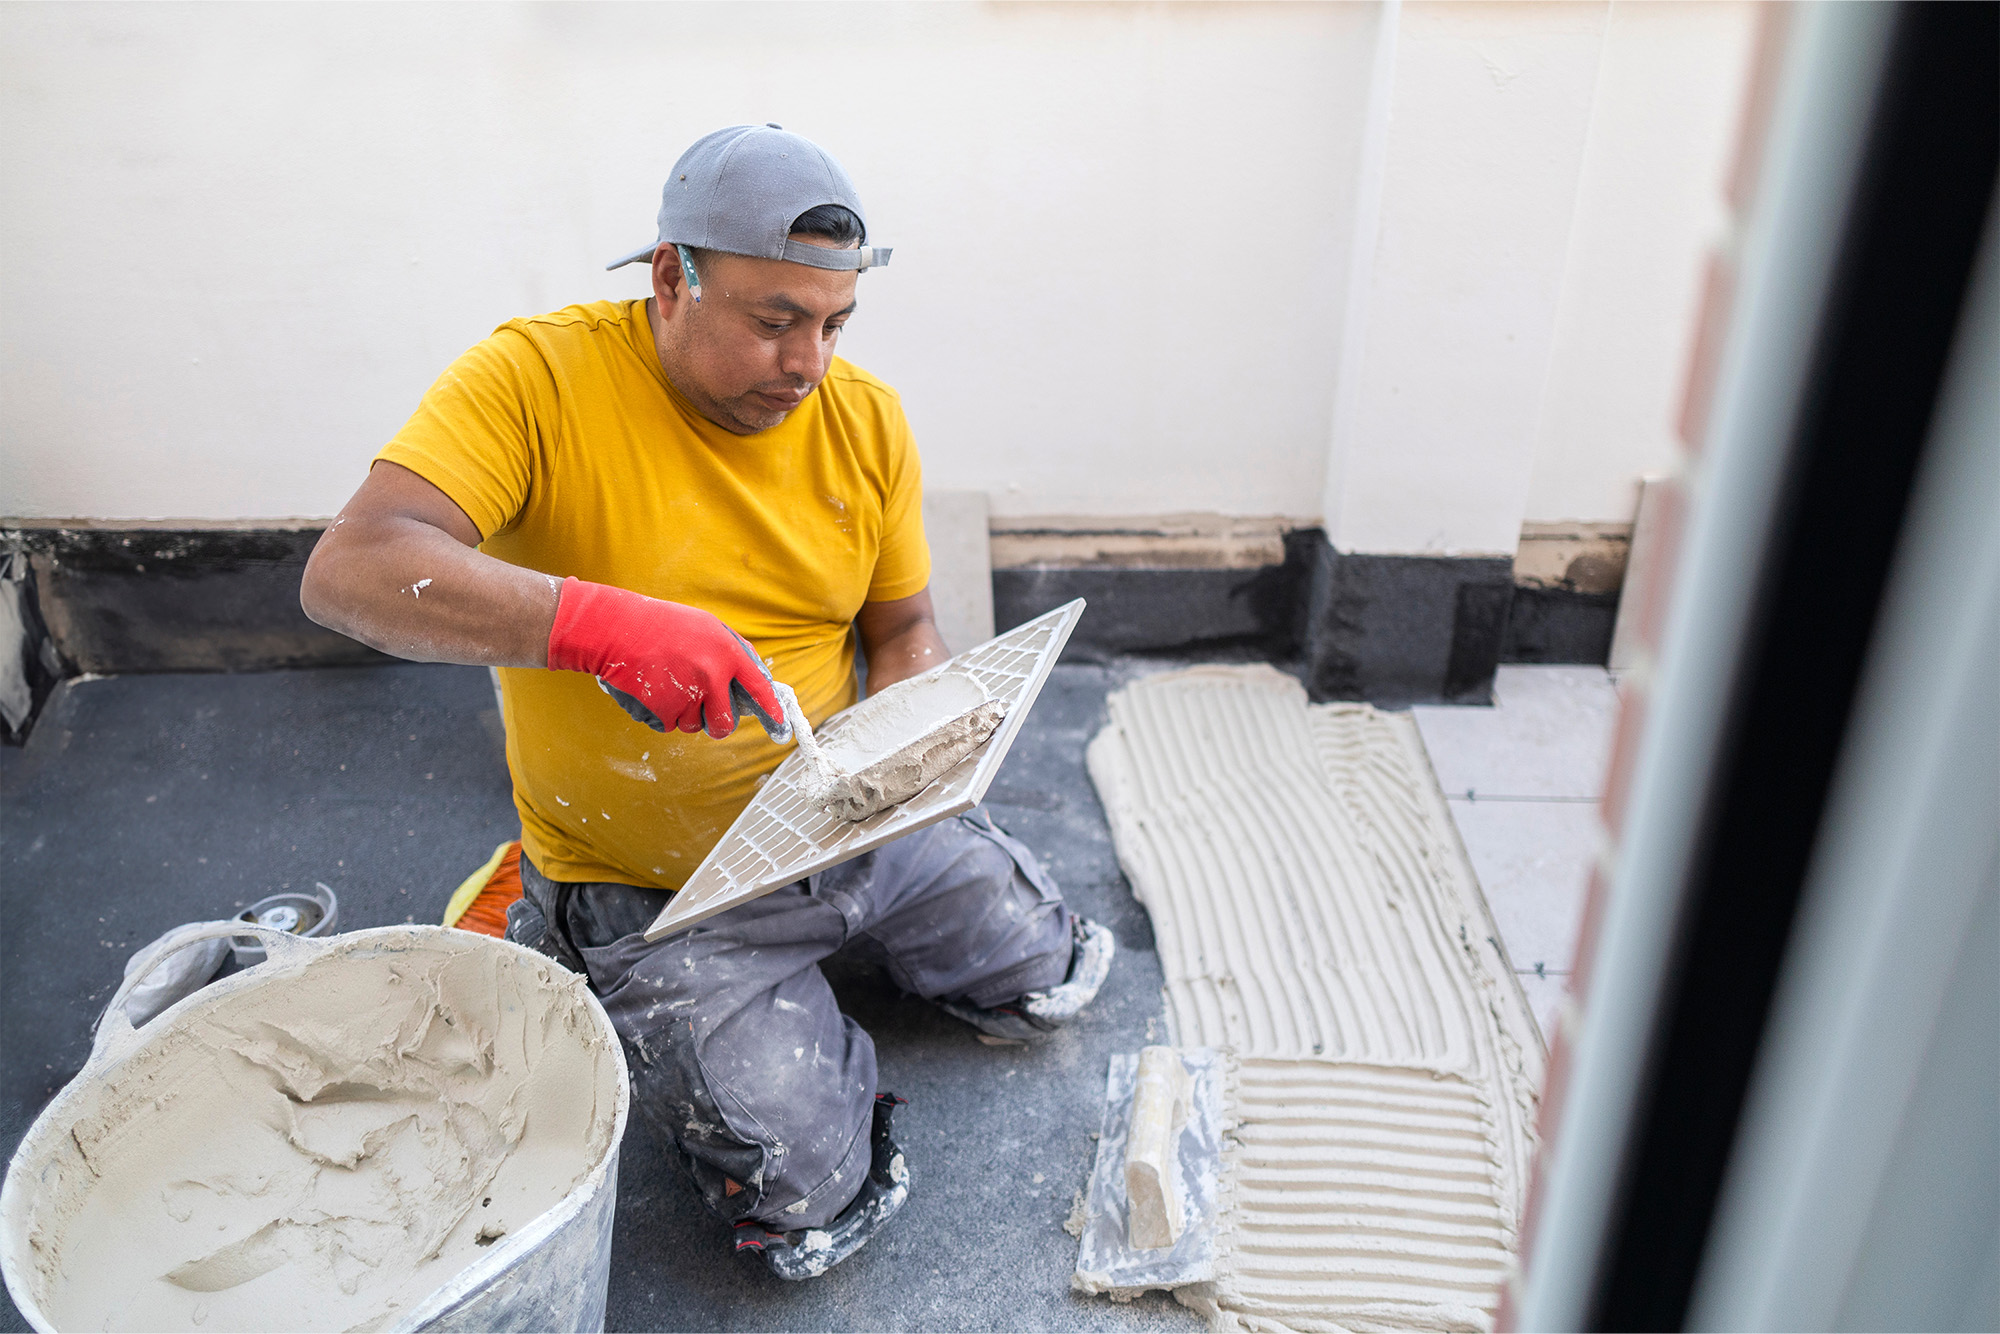
Tile installation is a slow, meticulous science where errors are cemented in permanently. The actual layout is the hardest part. You cannot just start gluing tiles down in a corner; you have to find the exact center of the room and map out a perfect grid so your edges look symmetrical. Cutting the tile requires a diamond-blade wet saw, which takes practice to operate without cracking the porcelain.
This process gets incredibly tedious when you have to make complex, curved cuts around bathroom fixtures like toilets or doorways. You also have to factor in significant drying time. You lay the tile, wait twenty-four hours for the mortar to cure, apply the grout, and then wait again to seal it. If you have one bathroom in your house, living through that timeline as a DIYer can test your patience.
Solid and Engineered Hardwood
Wood behaves like a living organism because it constantly reacts to moisture in the air. Before you install solid or engineered hardwood, the boxes must sit inside your home for several days to acclimate to your indoor climate. Skip this step, and the wood will buckle or gap later.
The installation process needs a pneumatic flooring nailer or stapler to fasten the planks to the wood subfloor at precise intervals. You must leave exact expansion gaps along the perimeter walls, which will later be covered by baseboards. If you bunch the planks too tightly against the drywall, the floor will lift off the subfloor when the humidity rises in summer. It takes a sharp eye for layout to blend the natural color variations of the planks across the room so the final result looks cohesive.
Luxury Vinyl Plank and Laminate
This is the category where a handy homeowner can absolutely shine. Modern luxury vinyl plank (LVP) and laminate floors feature click-lock floating systems designed for easy assembly. You do not need heavy machinery or messy adhesives. You can often cut luxury vinyl with a simple utility knife or a hand saw.
But while the skill barrier is low, the time investment is still significant. Measuring the final rows, staggering the end joints properly so they look natural, and fitting the planks around doorways still takes hours of focused labor. It is a fantastic DIY option if you have the patience, but hiring a crew is still the fastest route if you want a large space completed in a single afternoon.
The Subfloor Foundation
Every new floor is only as good as the surface beneath it. This is where many independent projects stumble. You cannot just sweep up the subfloor and assume it is ready for a new material. Wood and concrete subfloors must be structurally sound, perfectly clean, and completely flat.
Subfloors must meet strict flatness tolerances, usually less than three-sixteenths of an inch over a ten-foot radius. If you put luxury vinyl plank over a dip in a concrete slab, the floor will flex down into that hollow spot every time you step on it. Within a few months, that repetitive bending will snap the interlocking plastic joints, causing the floor to separate. Professional installers spend hours grinding down high spots, filling low dips with leveling compounds, and checking concrete moisture levels with digital meters to prevent future warping.
Understanding Your Warranty Coverage
If a DIY installation fails down the road due to a layout error, fixing it falls entirely on your shoulders and your budget. Product warranties from major flooring manufacturers are incredibly specific. If you read the fine print, many brands explicitly state that their product warranty is void if the material is not installed according to their strict technical guidelines. Simple mistakes like using the wrong underlayment or skipping an expansion gap can cost you your warranty protection.
Hiring our team changes that dynamic completely. We would argue we have the BEST installation staff in town, and we stand squarely behind their craftsmanship. Our projects come backed by our own structural installation warranties. If a trim piece comes loose or a plank shifts, we come back out to make it right. Working with professionals protects your manufacturer's warranty and gives you total peace of mind.
Making the Best Choice for Your Home
Choosing between handling the work yourself and hiring an expert comes down to your available free time, your comfort level with specialized tools, and the specific material you want underfoot. For quick click-lock vinyl updates, a weekend of hard work can yield great results. For complex tile layouts, hardwood nailing, or whole-house carpet stretches, professional installation ensures the job is done efficiently without sacrificing your free time or your sanity.
We have spent decades helping families across Loveland, Montgomery, Mason, and the greater Cincinnati Tri-State area navigate these exact decisions. We treat every client with complete transparency, whether you just need a warehouse deal on DIY laminate boxes or want our crew to handle a complex hardwood installation from start to finish. Visit our Cincinnati showroom to see our materials in person, or contact us directly to discuss your project layout and get your installation scheduled the right way.


